Volume discounts are available!
[DUV1]

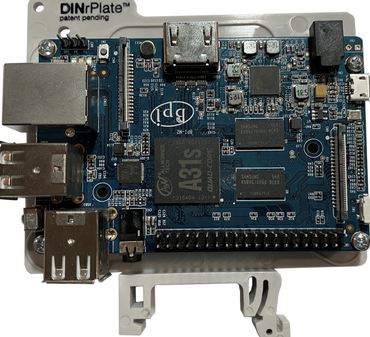
Universal PCB DIN Rail Mount
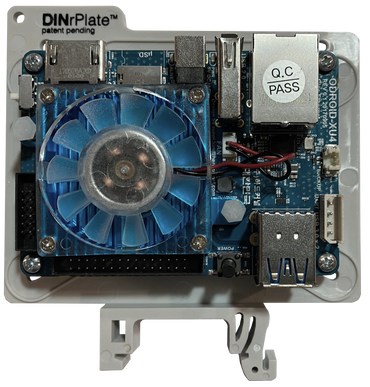
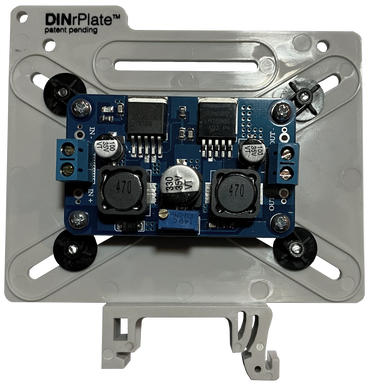
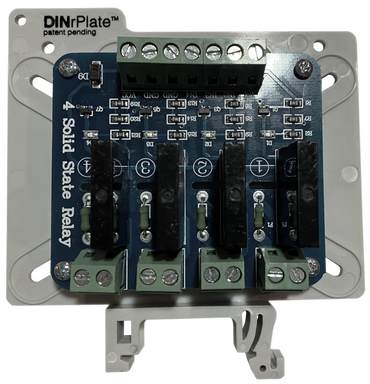
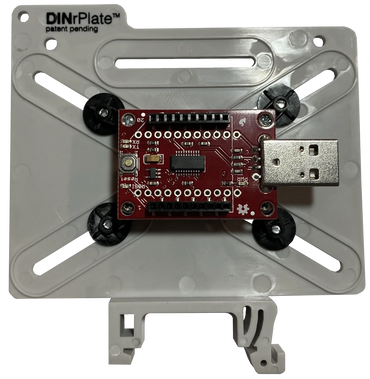
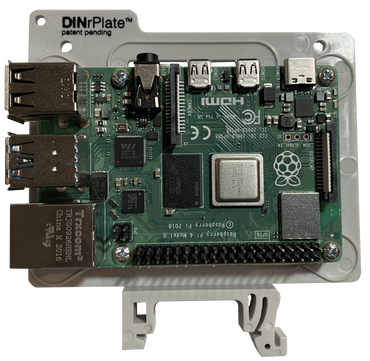
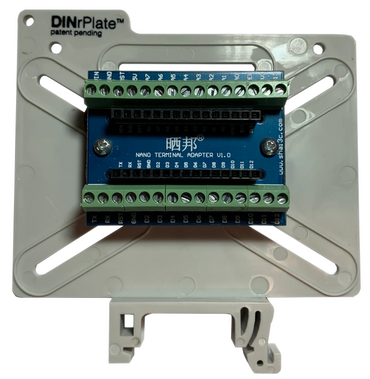
- Innovative Design: Sliding, rotating stand-offs accommodate a wide range of PCBs. Professionally mount your Banana Pi, Orange Pi, O-Droid, Raspberry Pi, Relay Boards, SSD, DC: DC Converters.... the list is nearly endless!
- Mount most boards horizontally or vertically to improve access to ports.
- All-in-one design for a robust and simple solution.
- Stock one part for many uses
- Patent Pending Design
Specifications
- Compact footprint: 100mm x 100mm x 10mm (L x W X D)
- Integrated 35mm DIN Rail mounting clip.
- Includes mounting hardware; four (4) rotating stand-offs, four (4) M3 screws & four (4) M2.5 screws
- Only 30 grams (base alone)
- Wide PCB Hole pattern range: From19mm x 15mm <--> 99mm x 64mm
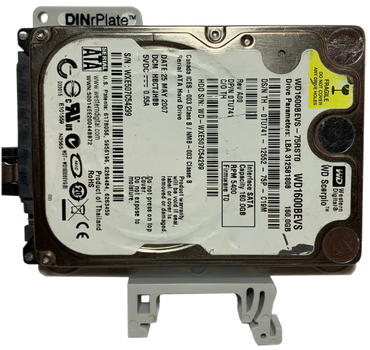
- Mount a standard 2.5" SSD/HDD (M3 mounting screws included.)
Available Now
Please check with our distributors world wide.

Universal PCB & SSD Mount


Installation Instructions
Attach Standoffs to PCB
Align Standoffs in Slots
Align Standoffs in Slots

Using the smaller M2.5 screws, attach the standoffs to the PCB. Tighten screws just a little, so the standoff can still rotate with your fingers. This will make the next step easier.
Align Standoffs in Slots
Align Standoffs in Slots
Align Standoffs in Slots
Gently rotate the standoffs so they align with the respective sliding slot/channels. (If standoffs don't rotate, loosen the M2.5 screws a little.) Hold PCB in place against the base with one hand, and attach with M3 from the back. Keep screws a little loose.
Secure PCB to Mount
Attach Mount to DIN Rail
Attach Mount to DIN Rail
When all 8 screws are installed, align the PCB to the desired position, and then tighten all screws.
Do Not Over Torque Screws, it's not necessary!
Attach Mount to DIN Rail
Attach Mount to DIN Rail
Attach Mount to DIN Rail
Hook the rigid side of the DIN clip to the rail, and press down until the clip secures to the other side. (If you need to remove, use a slotted screwdriver with a prying action on the flexible attachment point. Access is only from the side opposite of the PCB. )